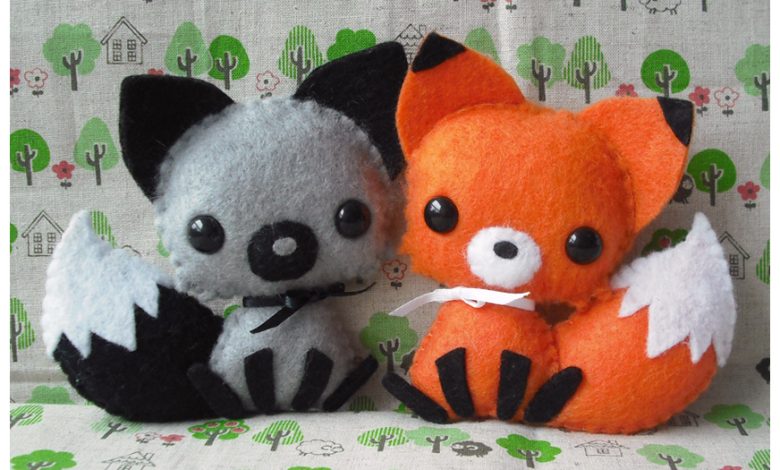
What Are Plushies? A Complete Guide About How To Make The Plushies

Plush toys sometimes don’t match your character or style because finding the right one is challenging. Sometimes you’ll find something almost perfect until you notice its eyes are slightly off or its nose is too big. You will learn how to make plushies in this guide!
Plushies
Plushies refer to stuffed animals with human characteristics, typically wearing clothing. The word “plushie” comes from plush, a thick pile of napped fabric. Designers and artists at Kawaii plushies draw inspiration from everyday life to create adorable figures and exciting designs that delight the mind and soul. You can find ultra-soft, squishy, and super-cute huggable plushies on “Mewaii”.
Materials required
You will need the following items to make plushies:
- Embroidery floss or thread
- Stuffing
- The fabric
- Pattern
- A pair of scissors
- Beads or a sequence
- A plastic nose and eye
- Markers for fabric
How to make the plushies?
1. Design your plushie
The sketch might be the most challenging part of making a plush bear. This can also be one of the most enjoyable parts of the process. You can design your plush bear based on your preferences!
Bear plushies need to be considered for their size and other details such as eyes, noses, ears, and clothing. To draft the sketch, get clean paper and a pencil. Outlining should be your first step.
2. Fabric Selection
For your cute plush doll or bear, you can use a flannel. Since this fabric type is usually available in various prints and colors, it is straightforward to purchase.
Furthermore, it is reasonably priced and easy to sew due to its smooth edges and corners. The fabric is more fluffy than Sherpa. Cotton also comes in a number of prints and colors, including flannel. In most plush toys, this fabric type isn’t used.
3. Draw a Pattern
To make a pattern, you have two options. The first option is to manually copy your design onto a more extensive paper. You can also let a local print shop enlarge your structure.
4. Cut out the pattern and sew it
After cutting the pattern pieces, fold and pin them using your scissors. The pattern pieces should be cut one by one and laid on a flat surface or clear table. Make trace lines on each pattern and place them on the fabric.
After that, cut the fabric according to the design. Tuck the raw edges, pin the fabric inside out, and piece the parts together (two at a time). Using the trace lines, use basic running stitches carefully. Stitching with an embroidery stitch or a straight stitch is also an option. Fillings need to be put in the top hole before sewing.
5. Fill your plushie
Stuffed toys can be cushioned with polyester fiberfill, a synthetic material. The material is soft, fluffy, durable, and widely used to fill stuffed animals. In craft stores, you can easily find it made of polyester.
6. Sew and seal
Once the hole has been filled, seal every edge and sew/stitch it shut. Next, the hand sews the details such as the eyes, nose, body size, and clothing. You may also opt to use hot glue rather than sew for small pieces. When parts are sewn, however, they tend to last longer.
Conclusion
I hope it is clear how to make the plushies. The long family long cat plush and squishy toy are the types of plushies. The process of making an animal plush might seem complicated to some people, but it’s all about following a comprehensive guide.


